

Seed Starting 101

Deciding which vegetables, herbs, and flowers you want in your garden is the fun part, but then comes the task of planning and planting. Buying young plants (sometimes called transplants) is definitely an option, but as you become more and more involved in growing you might choose to start your plants from seeds. Once you know what you want to plant and when you want to start planting, you can get down to business. Check out this blog HERE for more info on planning your planting schedule and what to start inside vs. outside.
In this blog we'll outline the basics for starting seeds indoors, including information on a technique called soil blocking. You'll also learn about cold stratification and winter sowing, which can be a super hands off way to start your seeds without all the fuss of indoor lights and heating pads. We'll end with hardening off & transplanting...which can make or break your seed-starting journey.
BASICS
When starting your seeds indoors, there are a few considerations you want to make. If you take one thing away from blog, make it this...treat each type of seed as the individual that it is. Each type of plant will have different requirements, so do a little research before planting! Here are some great starting points when growing your seeds indoors.


Know your plants: sweet potatoes grow from “slips” or roots that are planted out later, while brassicas like mustard greens grow from seeds.
Pots & Containers
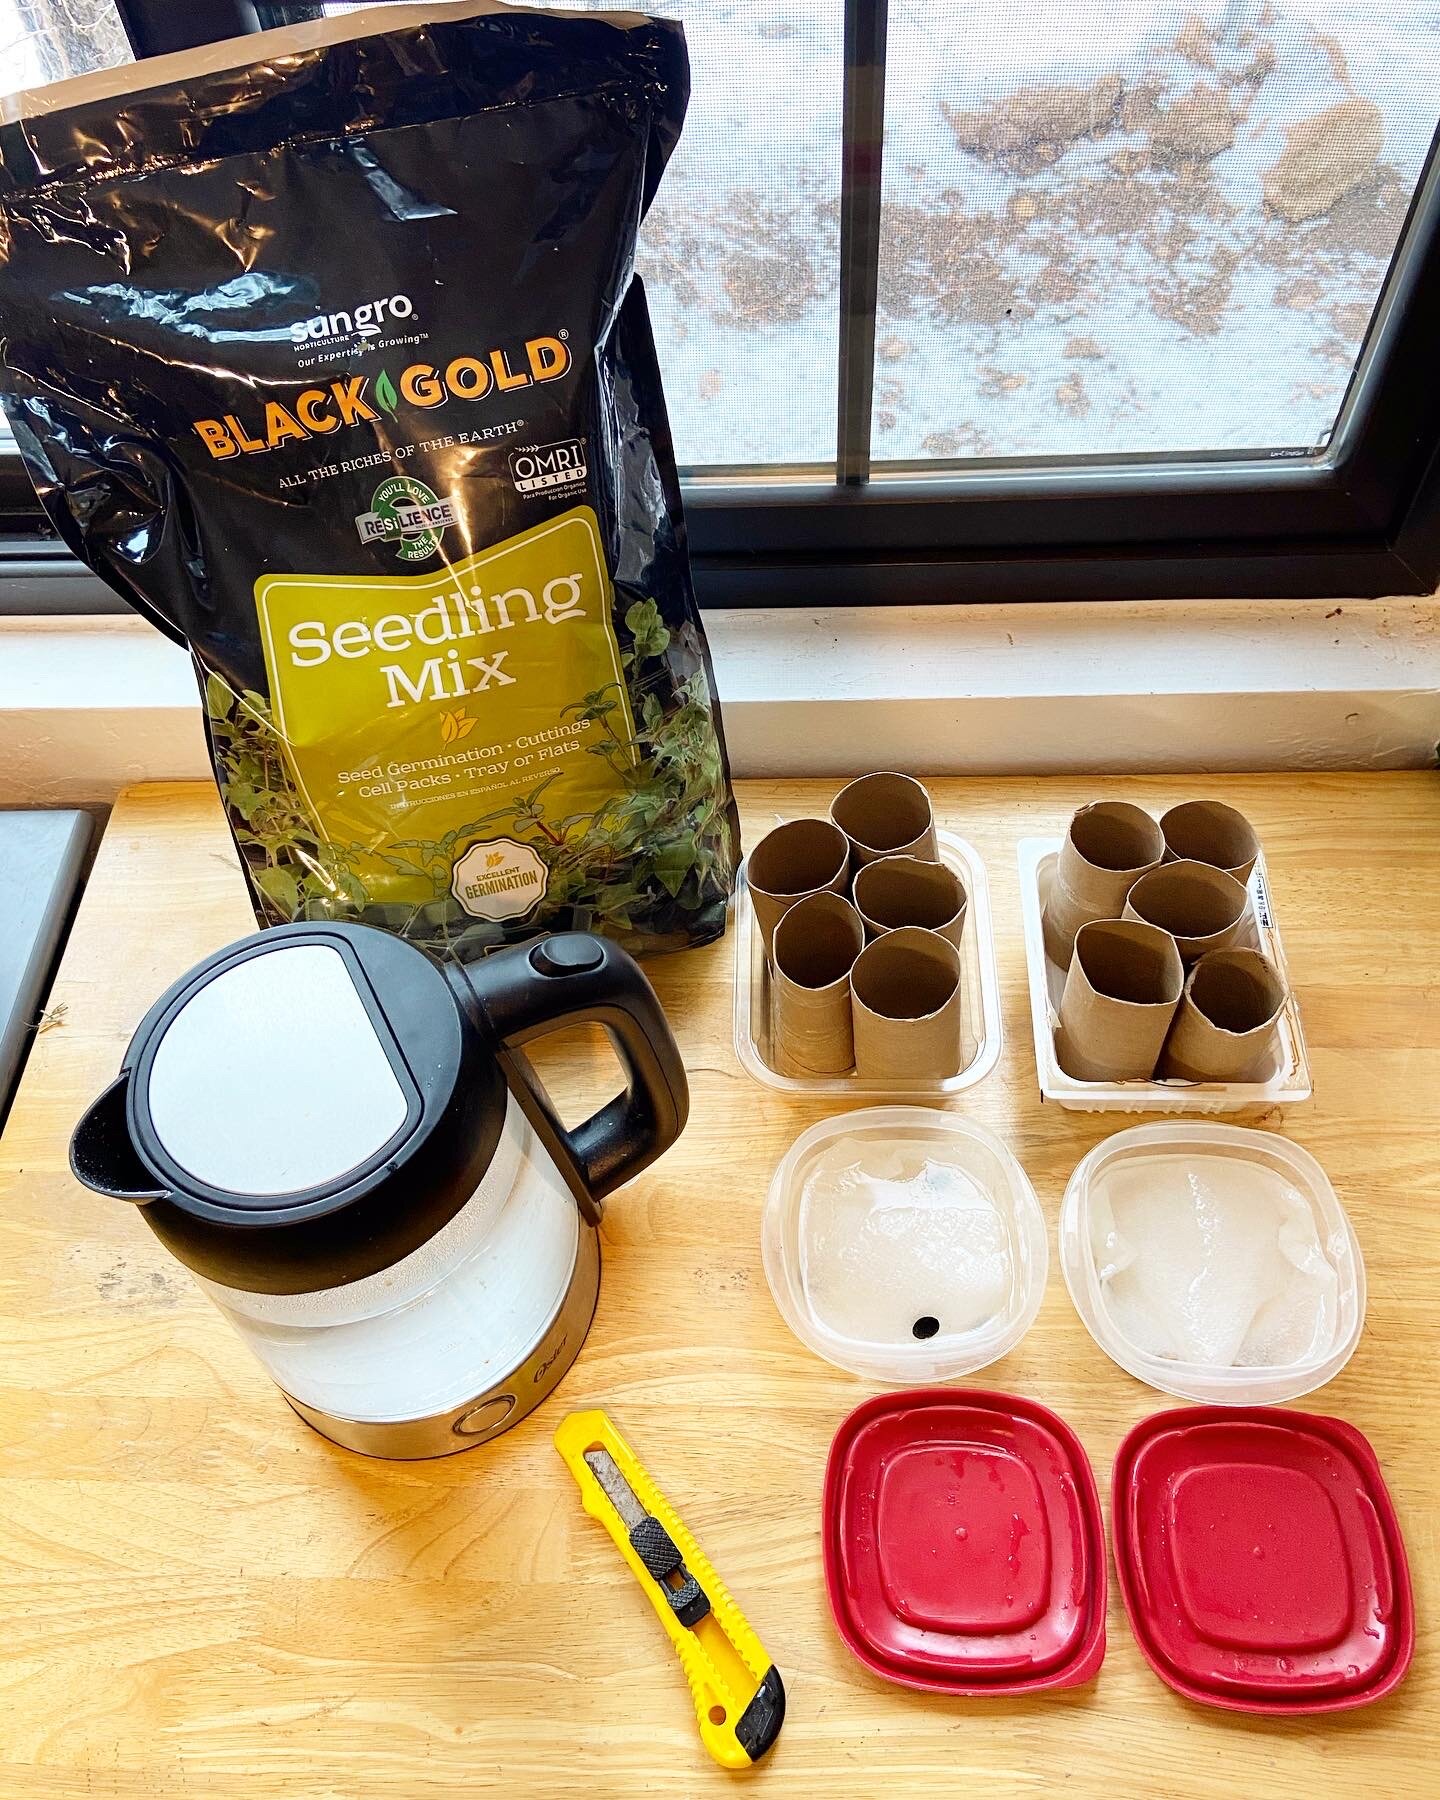
Unless you're using a technique like soil blocking (keep reading to find out what that is), you're going to need something to grow your seeds in. There are plenty of different plastic "cell" containers on the market that gives each seedling a place to grow inside a larger tray. Different sized plastic pots and even biodegradable pots can be used for starting seeds, but you want to look for something fairly small to start off with. If you're on a budget or you have a passion for recycling, you can make use of many of different household items for seed starting. Yogurt containers, toilet paper rolls, cherry tomato or berry "clamshells" containers.... you have a ton of options. Even small solo cups or paper cups can work wonderfully, just make sure to poke some holes in the bottom for drainage.


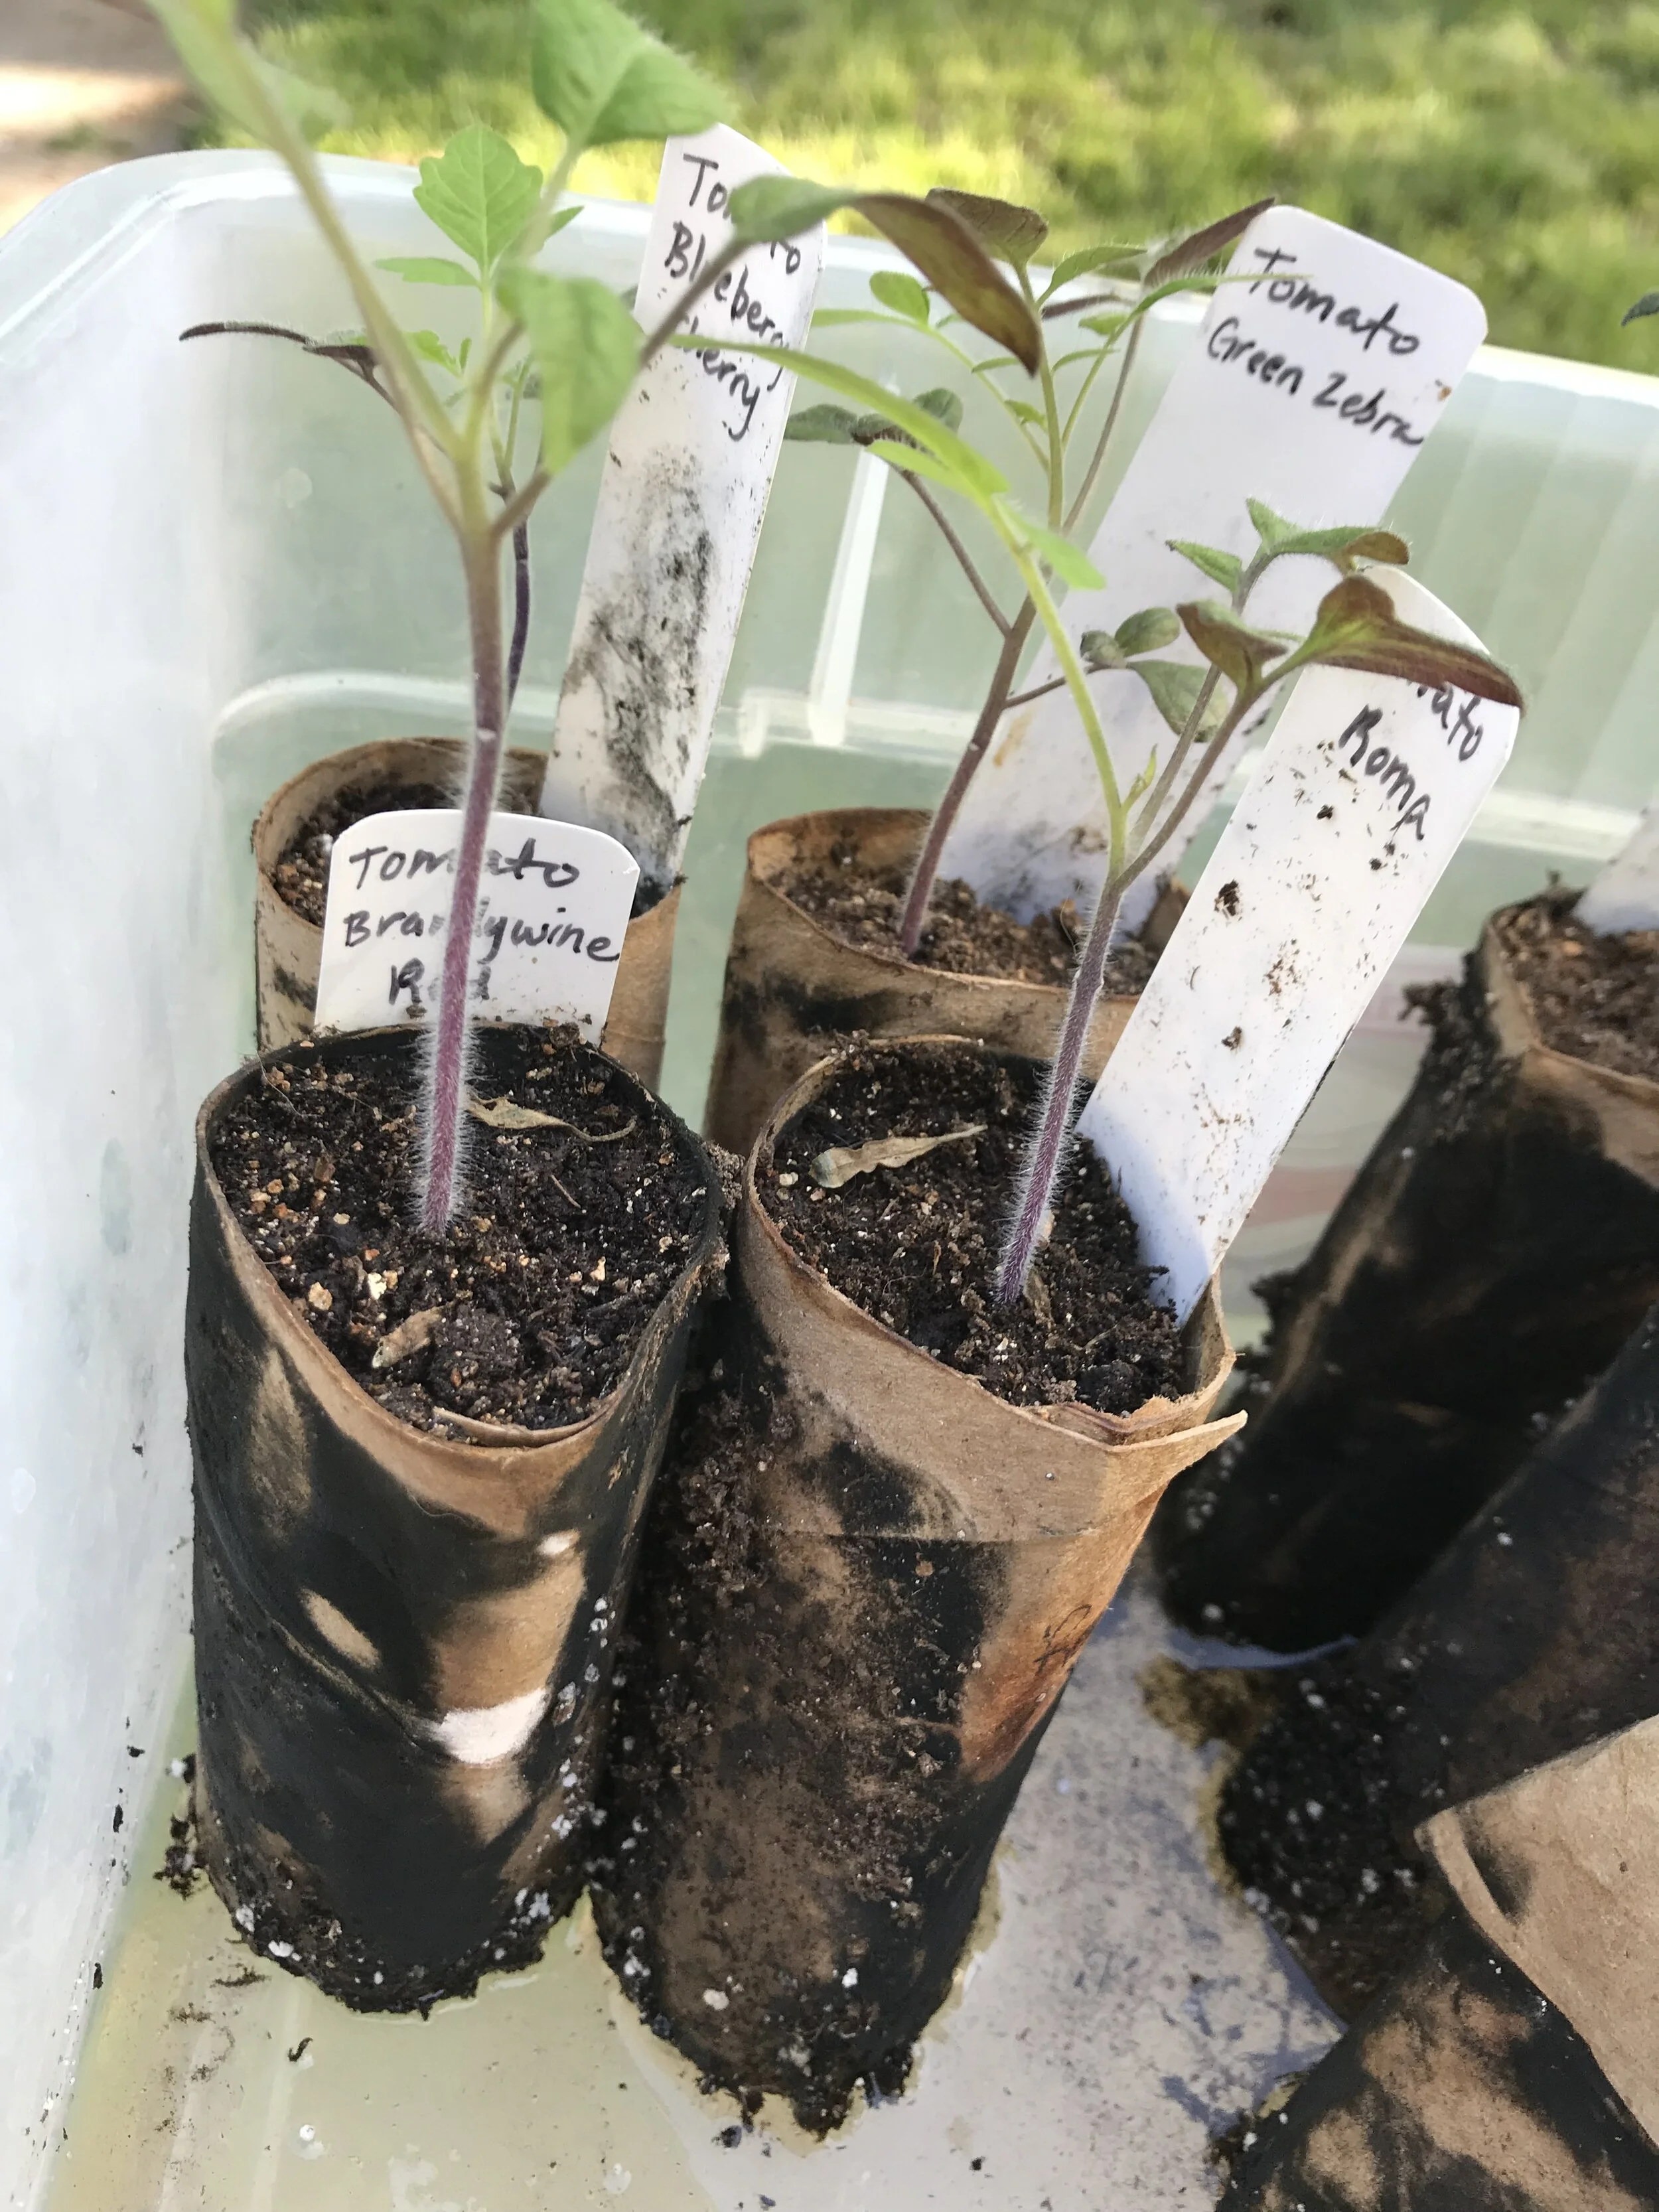
These galvanized seed trays from Gardeners Supply work great for bottom watering. You can also plant in materials like toilet paper rolls (see what we learned later) and plastic containers.
Growing Medium
The soil that you grow your seedlings in matters a lot. To be successful, they really need a sterile environment that can retain water while still remaining nice and light to allow good drainage. Using dirt that you dug up outside isn't a great option, as it can become compact and inhibit good roots from forming. You also don't want to use your typical houseplant potting soil, as these often have lots of extra organic material and fertilizers. Straight up compost is another no-no... it's going to actually have too many nutrients that can negatively affect the growth of your seeds. Everything a seed needs to sprout and grow is included inside the seed itself (kind of like the yolk of an egg), so you won't need to add fertilizers until your plant is already established. Buy a mix that is specifically designed for seed starting OR make your own. They're really easy to mix up yourself and you can save a TON of money. Check out Pentagram Potager’s blog post about how to make your own.
Depth
Some seeds need darkness to germinate, others need light. It's important to know exactly the needs before planting so make sure you read the seed packet and do some research. For plants that need light- you can scatter the seeds right on top of your growing medium. A good general rule is to plant your seeds 2x the width of the seed itself. When planting your seeds, cover lightly with growing medium instead of packing it down on top.

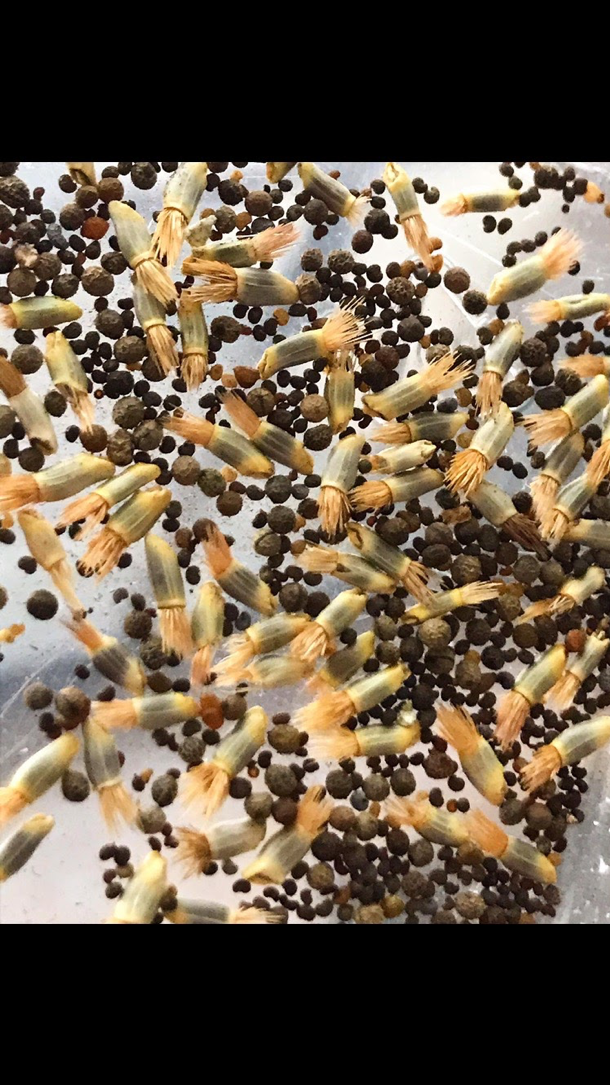
Beans need to be buried about 1” deep. Poppies and bachelor’s buttons typically don’t need to be buried and do well with scattering and gently raking them in the soil.
Temperature
Many plants need warmth to germinate. Think of how the longer days and warmer temperatures begin to warm everything up in spring. Alternatively- some plants actually need a period of cold before they can sprout- we'll talk a bit about that later! Check each seed for their temperature needs, but oftentimes you'll need to create a warm environment to achieve good germination. Warming mats are a huge help and if there's one thing to invest in, I would say this is it! My germination rates went from 50% to about 90% as soon as I added some consistent warmth from below. Placing your pots on a warming mat will start to wake things up and alert the seed that it's time to sprout. If you don't have access to a warming mat, try germinating your seeds on top of your refrigerator or in a warm laundry room! Once you see some little sprouts popping through, you can remove from the warming mat!
Moisture
When first starting your seeds, it's a great idea to capture moisture by keeping your pots covered. You can buy humidity domes that fit over larger trays, but you can really use anything you find around your house. Plastic bags or plastic wrap works really well, you can also the containers that you buy salad greens in from the supermarket. Once you see that your plants have germinated, you can remove the cover to allow things to breathe. When it's time to water the seedlings, consider bottom watering! Pouring some water in the bottom of your trays allows plants to take up exactly how much they need and avoids overwatering. I like this technique because sometimes adding water to the top can disturb the delicate seedlings. If I want to water from above, usually I just spritz around with a spray bottle instead of pouring water directly into the growing medium. Overwatering can cause mold or algae forming on the surface of your pots, so allow your plants to dry out a bit before watering again.


Your humidity domes don’t always have to be pretty—try using some plastic that would otherwise go to the landfill!
Light
Your seedlings are going to need a lot of light-12+ hours a day. You can definitely do a great job by keeping your plant babies right next to a window in full sun, but you still might want to supplement with lights for a few extra hours a day. Start with your lights fairly close to your plants, otherwise your seedlings will be rrreeeaaaccchhhiiinnnggg up towards the light and might become leggy. As your seedlings grow taller, increase the amount of space between the plants and the lights. Double check the type of light you purchase, as some can burn tender seedlings if they are too close. Here's a great article about choosing lights from Homestead & Chill. Another thing to note- your plants will need some darkness, so don't forget to shut the lights off for around 8 hours each night! You CAN have too much of a good thing. Typically I start my seeds under lights after I see about 50-70% have germinated.


Both of these light set ups are using LED lights. You can easily scale your growing capacity up or down based on the type of space and light you have.
SOIL BLOCKING
Another amazing technique for starting seeds is something called soil blocking. With this method instead of using pots to grow your seedlings, you actually form little cubes of soil with no containers. Soil blocks go into larger trays with spaces between each one. Some benefits of soil blocking are:
The tool makes it a low-waste, very reusable way of seed starting every year
You can fit many in a small area and use containers like a cake pan
Their roots get air pruned, where the plant constantly produces new and healthy branching roots.
Once they’re big enough, you pot them up to a bigger size.
Here are some step by step instructions on how to do soil blocking:
You’ll need tools: soil blocker, seedling potting mix, water, & container where soil blocks will grow
First, moisten your seed starting potting mix enough that it’s all moist. Too wet and the blocks will be too heavy and cause issues with germination. Too dry and the soil blocks won’t stay together.
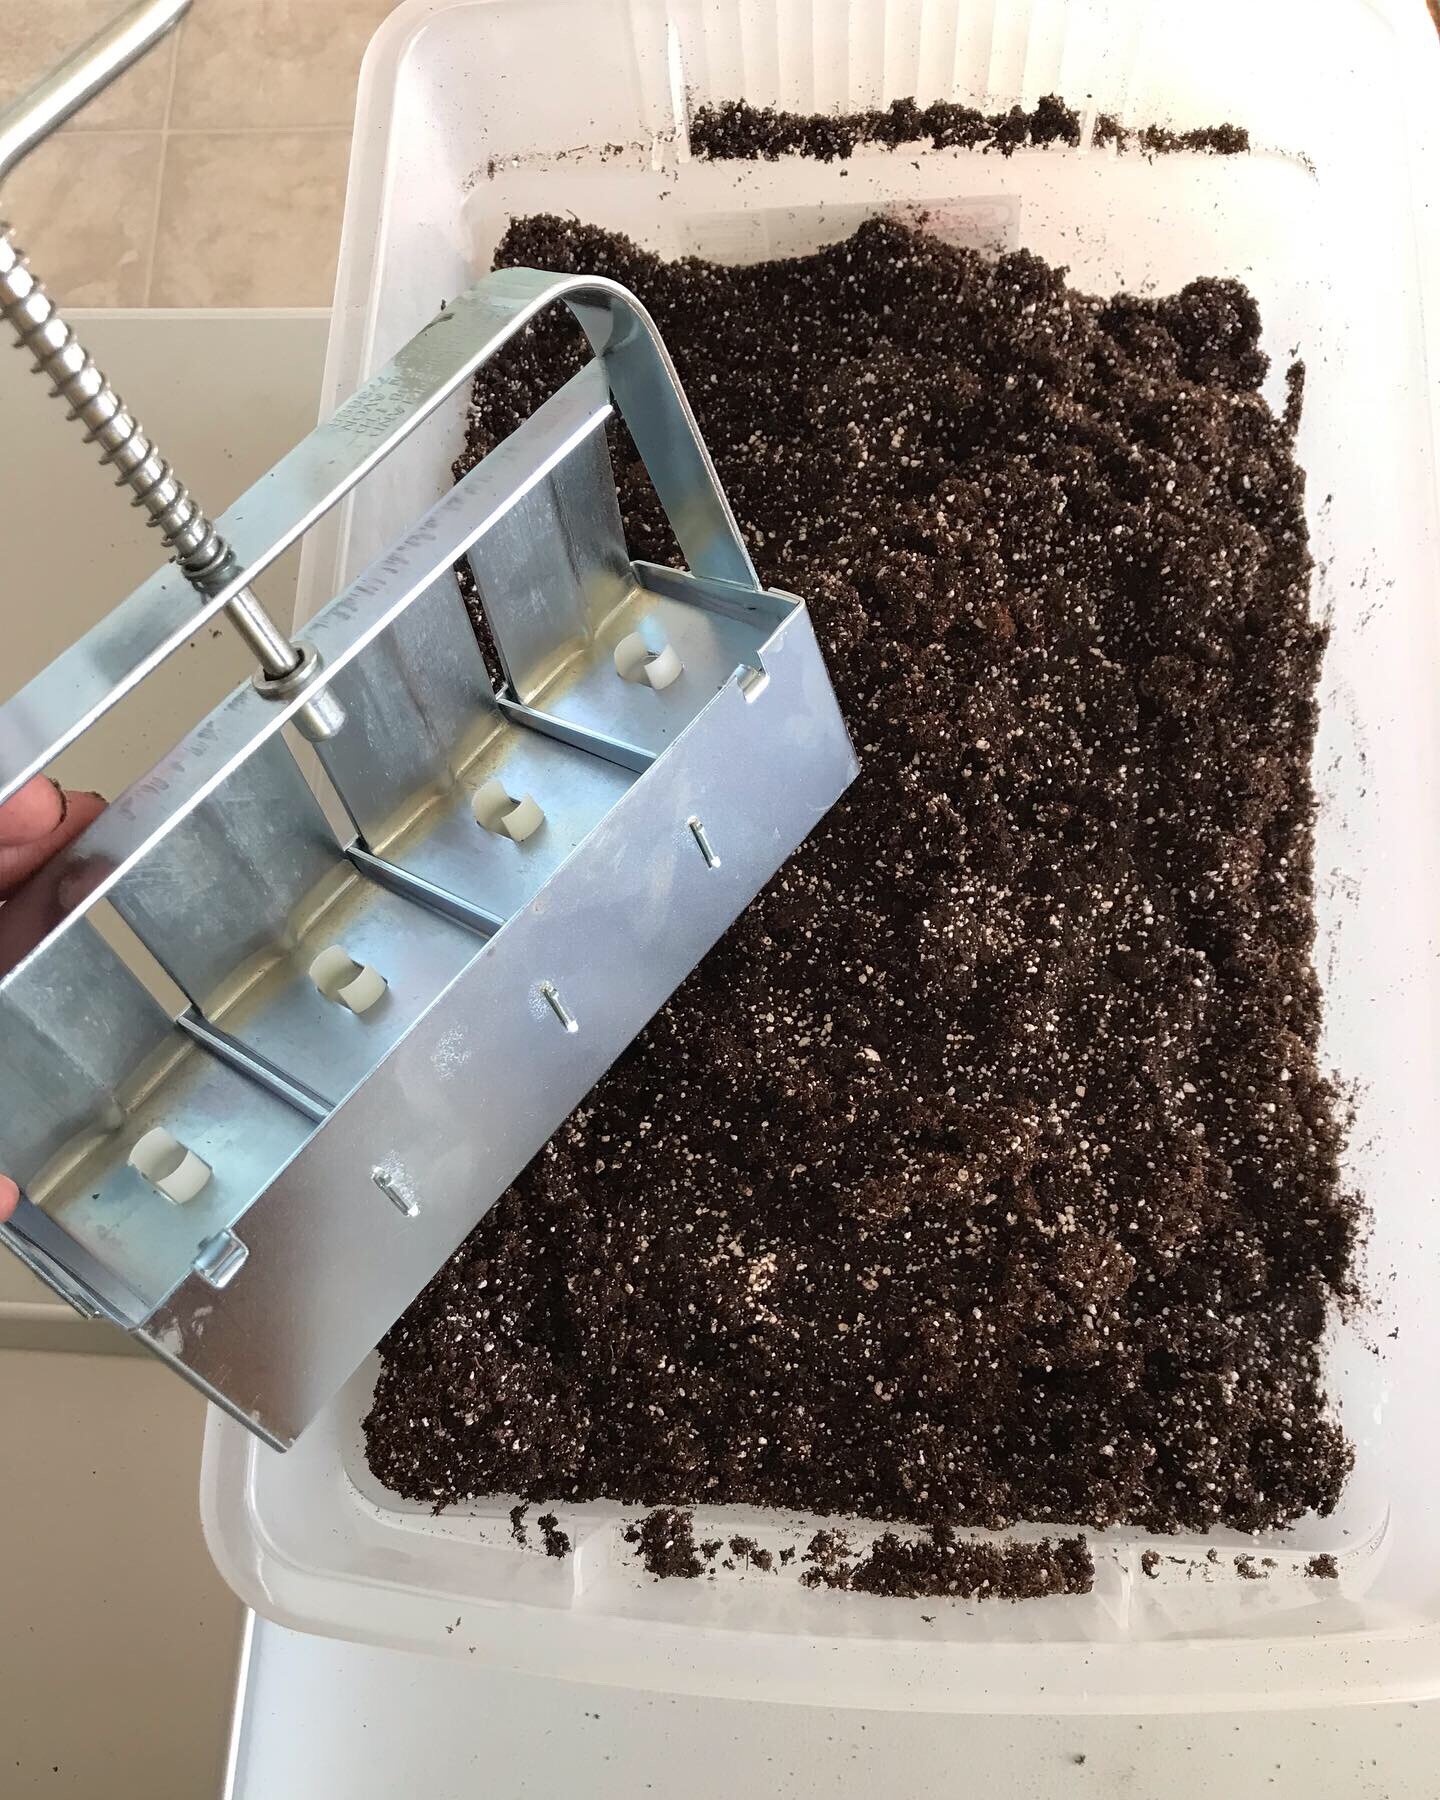
Take your soil blocker and scoop/press a bunch of soil into the (typically) 4 squares.
Pick up your filled soil blocker and level off the soil on bottom.
Then place your filled soil blocker in your container and squeeze the handle to release the soil blocks. It took a couple of tries for me to get it, so feel free to practice.
There will be a small divot in the top where your seeds will go.
Make sure to space the soil blocks out in your container for adequate air flow and water distribution (about ½ to 1”). You’ll thank yourself later!
Also ensure you have space around the edges of your container for watering.
Then simply plant your seeds in the divot and cover them with a bit of soil.
You should keep the tops moist enough for the seed to germinate (don’t let it dry out) and after that you can bottom water the soil blocks around the spaces. And try not to water the soil directly (unless with a spray bottle), or else the water stream will be too strong and will break apart your soil.
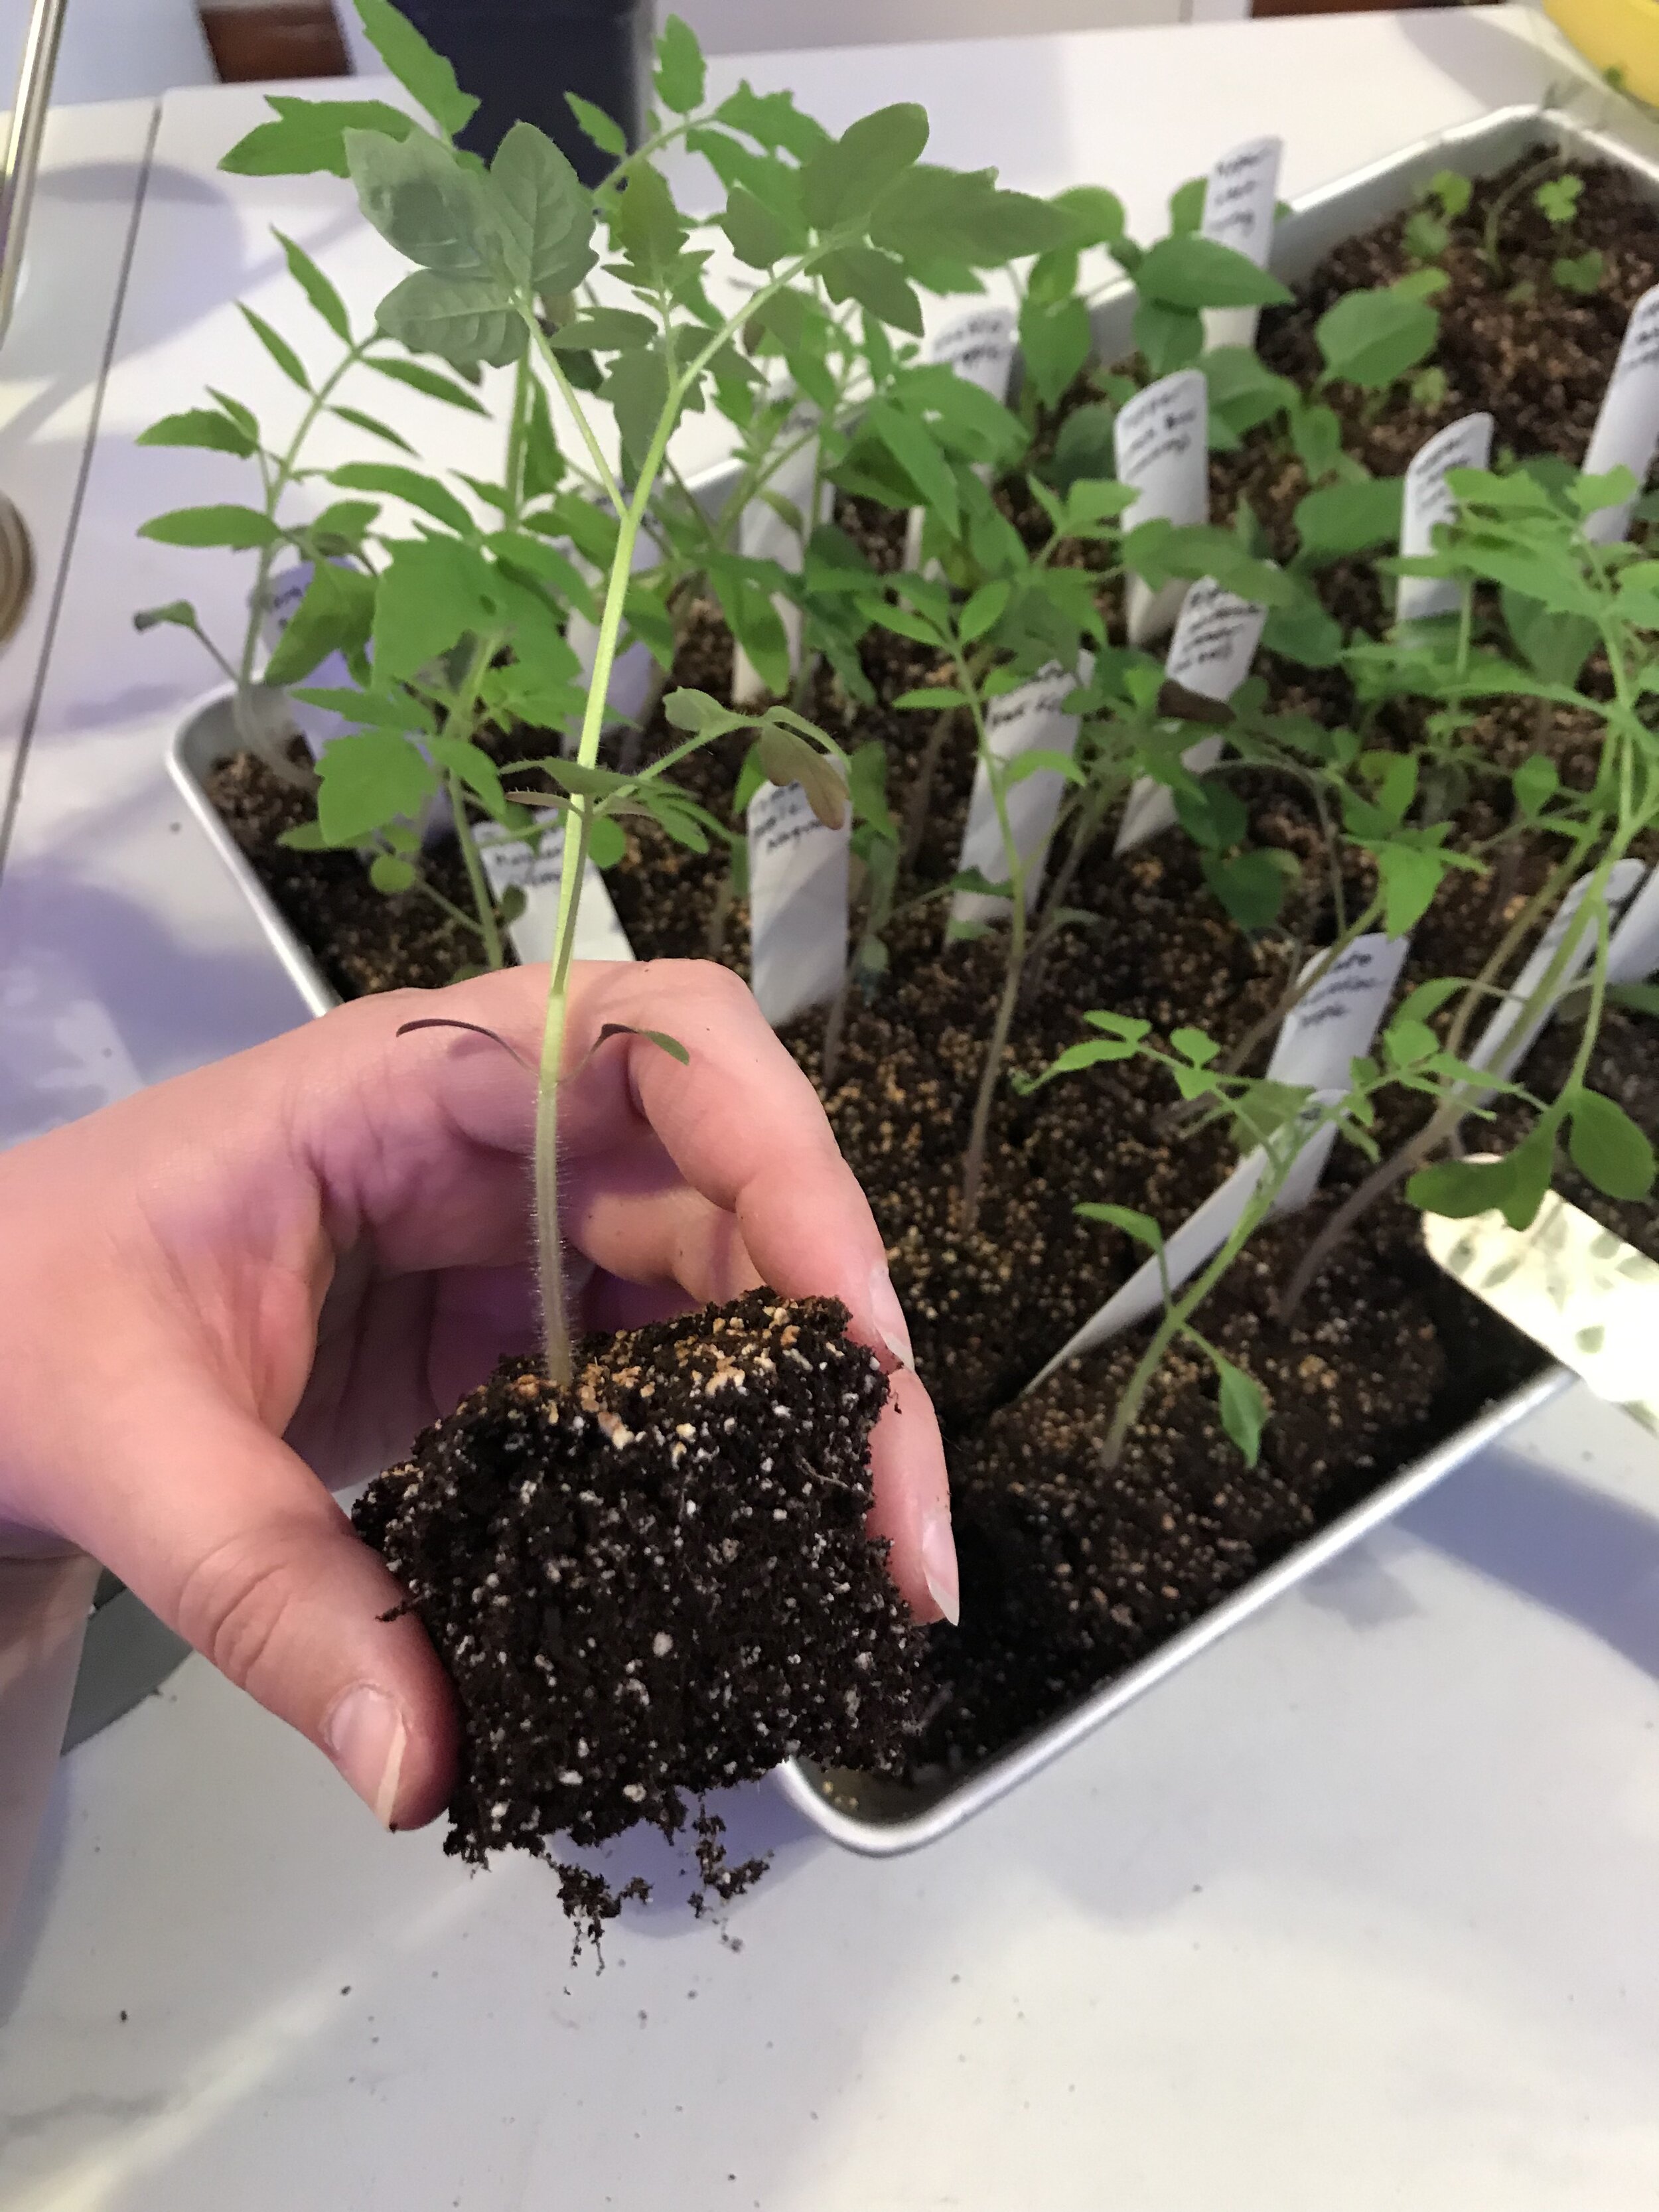
Something I learned—they need a bit more space in between the soil blocks for proper drainage and air flow. Try to plant similar plants in the same container for similar germination and growing times. I was able to keep them intact in their soil blocks for nearly 2 months without problems.

HARDENING OFF
Once you have grown your beautiful and strong seedlings and temperatures have warmed, it's time to plant them outdoors. This part is arguably the most important part of the process so please...I'm begging you...DON'T RUSH IT. You have given your plant babies the most perfect growing conditions, and if you just move them outside they will be absolutely shocked by the conditions. We all know that weather and temperatures can be pretty unstable from day to day, even from hour to hour, so we need to prepare our seedlings for what's to come.
Plan to plant your seedlings outside based on their specific needs and frost date information. Some may be able to go out before your last frost, while other plants that are more tender may not tolerate cold at all- those will need to wait until any chance of frost has passed. You can potentially plant sooner if you use season extending tools like row covers or cloches (read about them in Garden Planning Pt 1)
When it's time to start hardening off your plants, start by bringing them outside for a few hours each day. Start them off in a shady spot, protected from wind. Each day, bring them outside for longer periods of time, gradually exposing them to more sun. Eventually you can leave your seedlings outside in full sun for most of the day. Take this process very slowly, it can take 1-2 weeks! You'll be able to see how your plants react to the new conditions. They may look a bit wilted at first or like they aren't super happy, but eventually they'll start to get even more green because they LOVE being outdoors. If your plant looks nice and healthy and is able to tolerate being outside all day or even part of the cooler night, then it's time to transplant!
PLEASE take your time. I know it’s exciting to finally get things planted, but take your time with hardening off and you’ll have the happiest plants possible. Transplanting without hardening off will just ruin all of your hard work! Don’t shock your plants with their new living conditions, ease them in gradually. This goes for nursery seedlings too--you don’t know the conditions they were in before, so it’s best to gradually harden them off too.
THINGS I WISH I KNEW…
After years and years of planting seedlings, you start to notice things you could do better. We're going to save you some time by sharing some lessons we learned...
Bio Pots & Paper Containers
These can degrade really quickly and build up lots of mold. When you try to transfer them to the garden, they can fall apart easily. Some pluses: they’re biodegradable. Toilet paper rolls can be good for things that don’t like root disturbance (melons, peas, etc, but if they stay in too long, the pot will rot out). They work great for peas, because they were only in there a few weeks and the toilet paper roll height allowed for the long root system to develop.

Plant Extra & Thin!
Plant more seeds than you think you need. You want to be able to pick the strongest and healthiest plants to tend to, and not every seed that you plant will be viable. Usually I plant a few seeds in each pot to ensure at least one germinates, then I will thin down to the strongest one. You may think the tallest plant is the strongest and the one you want to keep, but it's actually the opposite. You're looking for the most compact plants, as the taller ones typically are reaching for the light and have become "leggy." If you feel bad about thinning your seeds please don't! Leaving multiple plants in one cell can weaken them all, and once they start growing true leaves they'll be even harder to separate without disturbing their roots. I just take a pair of clean, sharp scissors and trim extra plants away at the soil line.
If you still feel bad about thinning... have no fear! They don't have to be destined for the compost, you can actually use them in other ways. Plants like radishes, beets, lettuce, broccoli, cilantro... you can use your thinned sprouts as microgreens! Just pop them on top of some avocado toast or noodles and they are super delicious.


You can also regrow thinned out seedlings and give them away to friends. This will really only work if 1) you prick them out and separate them gently, or 2) you can regrow them due to adventitious roots like on tomatoes. I thinned out tomatoes I grew last year in soil blocks. Because I didn’t want to take apart the soil block, I cut the extras at their base and put them in water. They have adventitious roots, which then rooted in water and were transplanted a couple of weeks later.

Grouping Seedlings
Not all plants germinate at the same rates. Some can send up their seedlings within a day or two, while others can take weeks! Knowing ahead of time is super helpful. I know in the past I've given up on half a tray and tossed it into the compost when it didn't sprout, only to learn that they would have if I had just given them a few more weeks on the warming mat. One year while planting I learned that tomatoes germinated much quicker than peppers and ground cherries, which required me to move the humidity dome off before the others were ready. This resulted in a much slower germination rate and growing from peppers and ground cherries. It was hard with soil blocks too, as I didn’t plan on moving them at all, so I would have half the tray on a heat mat and the other half off that was already growing too fast. Careful planning and spacing will help you in the long run here!

Tomatoes on the left germinated and grew much quicker than peppers, even though they both do well with a heat mat. Celery on the right is much slower to germinate and does better with cooler temps.
We hope that this gives you a great base of information to feel more confident when starting seeds at home! You can be super successful just using things you save around your house and you really don't need a ton of fancy or expensive equipment to grow a beautiful & nourishing garden. Check out Bella's Instagram HERE and Tina's HERE as they share more tips throughout the year.