

Pepper in a Can Challenge

Peppers...grown in a can?! There’s this little international challenge that takes place every year where, you guessed it, people compete to grow peppers in cans. This year, it runs from February 11th until September 30th. On October 1st the judging begins. And what does this hardcore judging entail? Simply the most likes on your pepper grown in a can on a comment thread! You’re judged by your peers on a variety of factors, and it’s not just about how good the peppers look. Last year’s first place winner had an amazing pepper plant that looked like a small bonsai tree--but interestingly enough, it didn’t even have peppers on it! Other factors include color matching your can to your pepper, bonsai and braiding techniques, sturdiness and branching of your plant, and of course overall vigor. And there are prizes from some pretty great donors. Are you ready to try yet? Check out more info below on FAQs, rules, and tips.
The main question I’ve gotten a lot is, “Can you actually grow peppers in cans?” The answer is yes! But...they won’t be as big as peppers grown in-ground or in large pots. What’s interesting about many small pepper varieties is that they will adapt to their environment. So yes, you can definitely grow peppers in cans, but remember these few tips: 1) they must start and end in the same can. That means no transplanting and it also means you’ll have the same soil for your plant’s entire growth. 2) Your pepper’s roots will fill up the whole can, eventually. You have to make sure to fertilize and feed it frequently, so it gets the nutrients it needs. And 3) It’s a small can, so you’ll have to water at least daily, maybe even twice a day in summer. Make sure to read below for my full list of tips + tricks for growing success.

Here was my Hot Cherry at the end of the season and it had at least 9 peppers on it (not including the ones I already harvested).
Rules + Requirements
This challenge is officially held in a Facebook group here. If you ever forget any of the rules, you’ll find them all there too. These are copied directly from their rules:

Rules and Guidelines for 2021 Pepper in a Can Challenge
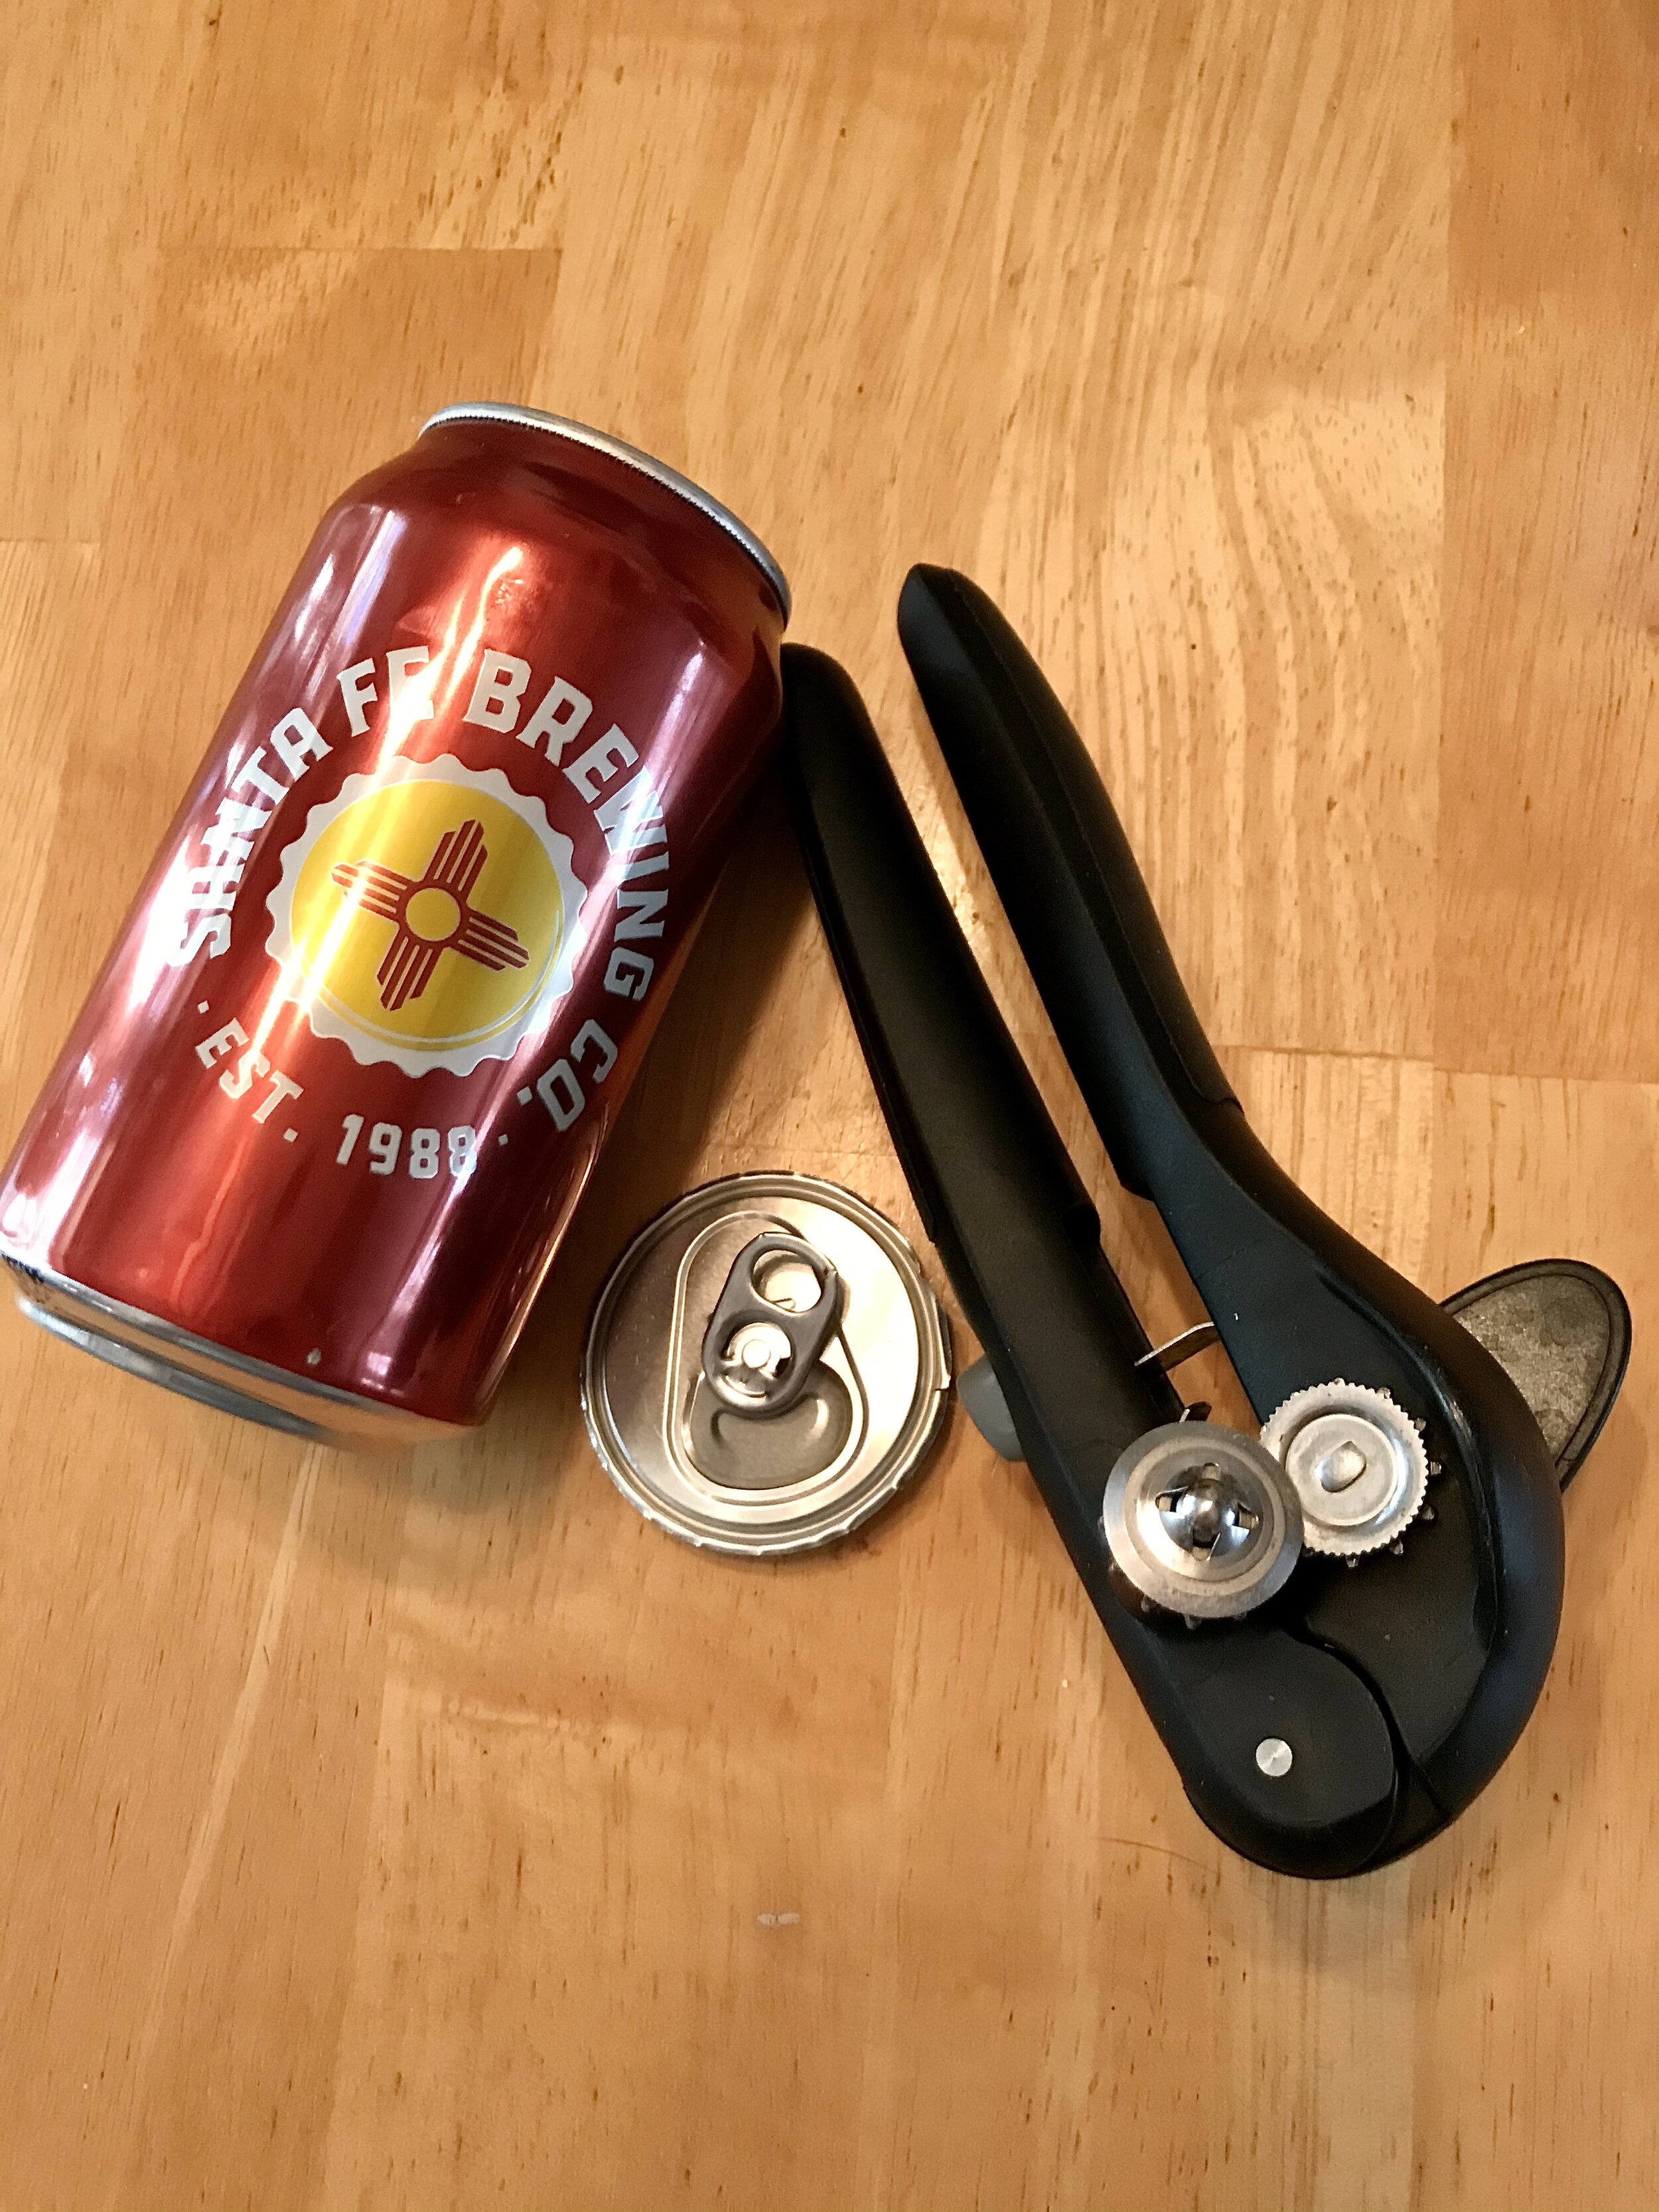
12 fl ounce (355ml) or smaller pop top beverage drinking cans (soda, beer, seltzer, etc.) can must be used. All other forms of “can” will not be eligible for the official judging. Examples excluded: candy or Spam tins, cans that must be opened with a can opener, cans that are screw top, plastic or glass containers.
Choose any type of pepper you wish. Sweet or Hot.
Choose any type of soil, peat based mix, coco coir, and fertilizers you wish.
No hydro plants, automated watering or drip irrigation. Hand watering only. Cans may be watered and fertilized from the bottom but no roots should be visible outside the can at any time.
Start as many cans as you wish. However, at contest end you will be asked to submit only ONE image of your best can for judging.
One or multiple seeds in a can. Your choice. All must be sown *in the can* on or after February 11th 2021 and remain in the can their entire lifetime.
Participants are encouraged to show images of their progress periodically.
Challenge ends September 30th 2021.
On October 1st 2021 a special thread will be started where each participant can enter a *single* image of their best can. Only images in that thread will be judged.
Winners will be judged by you, the members of this group, by the most number of 'likes or reactions' on each image.
Above all...Have fun!
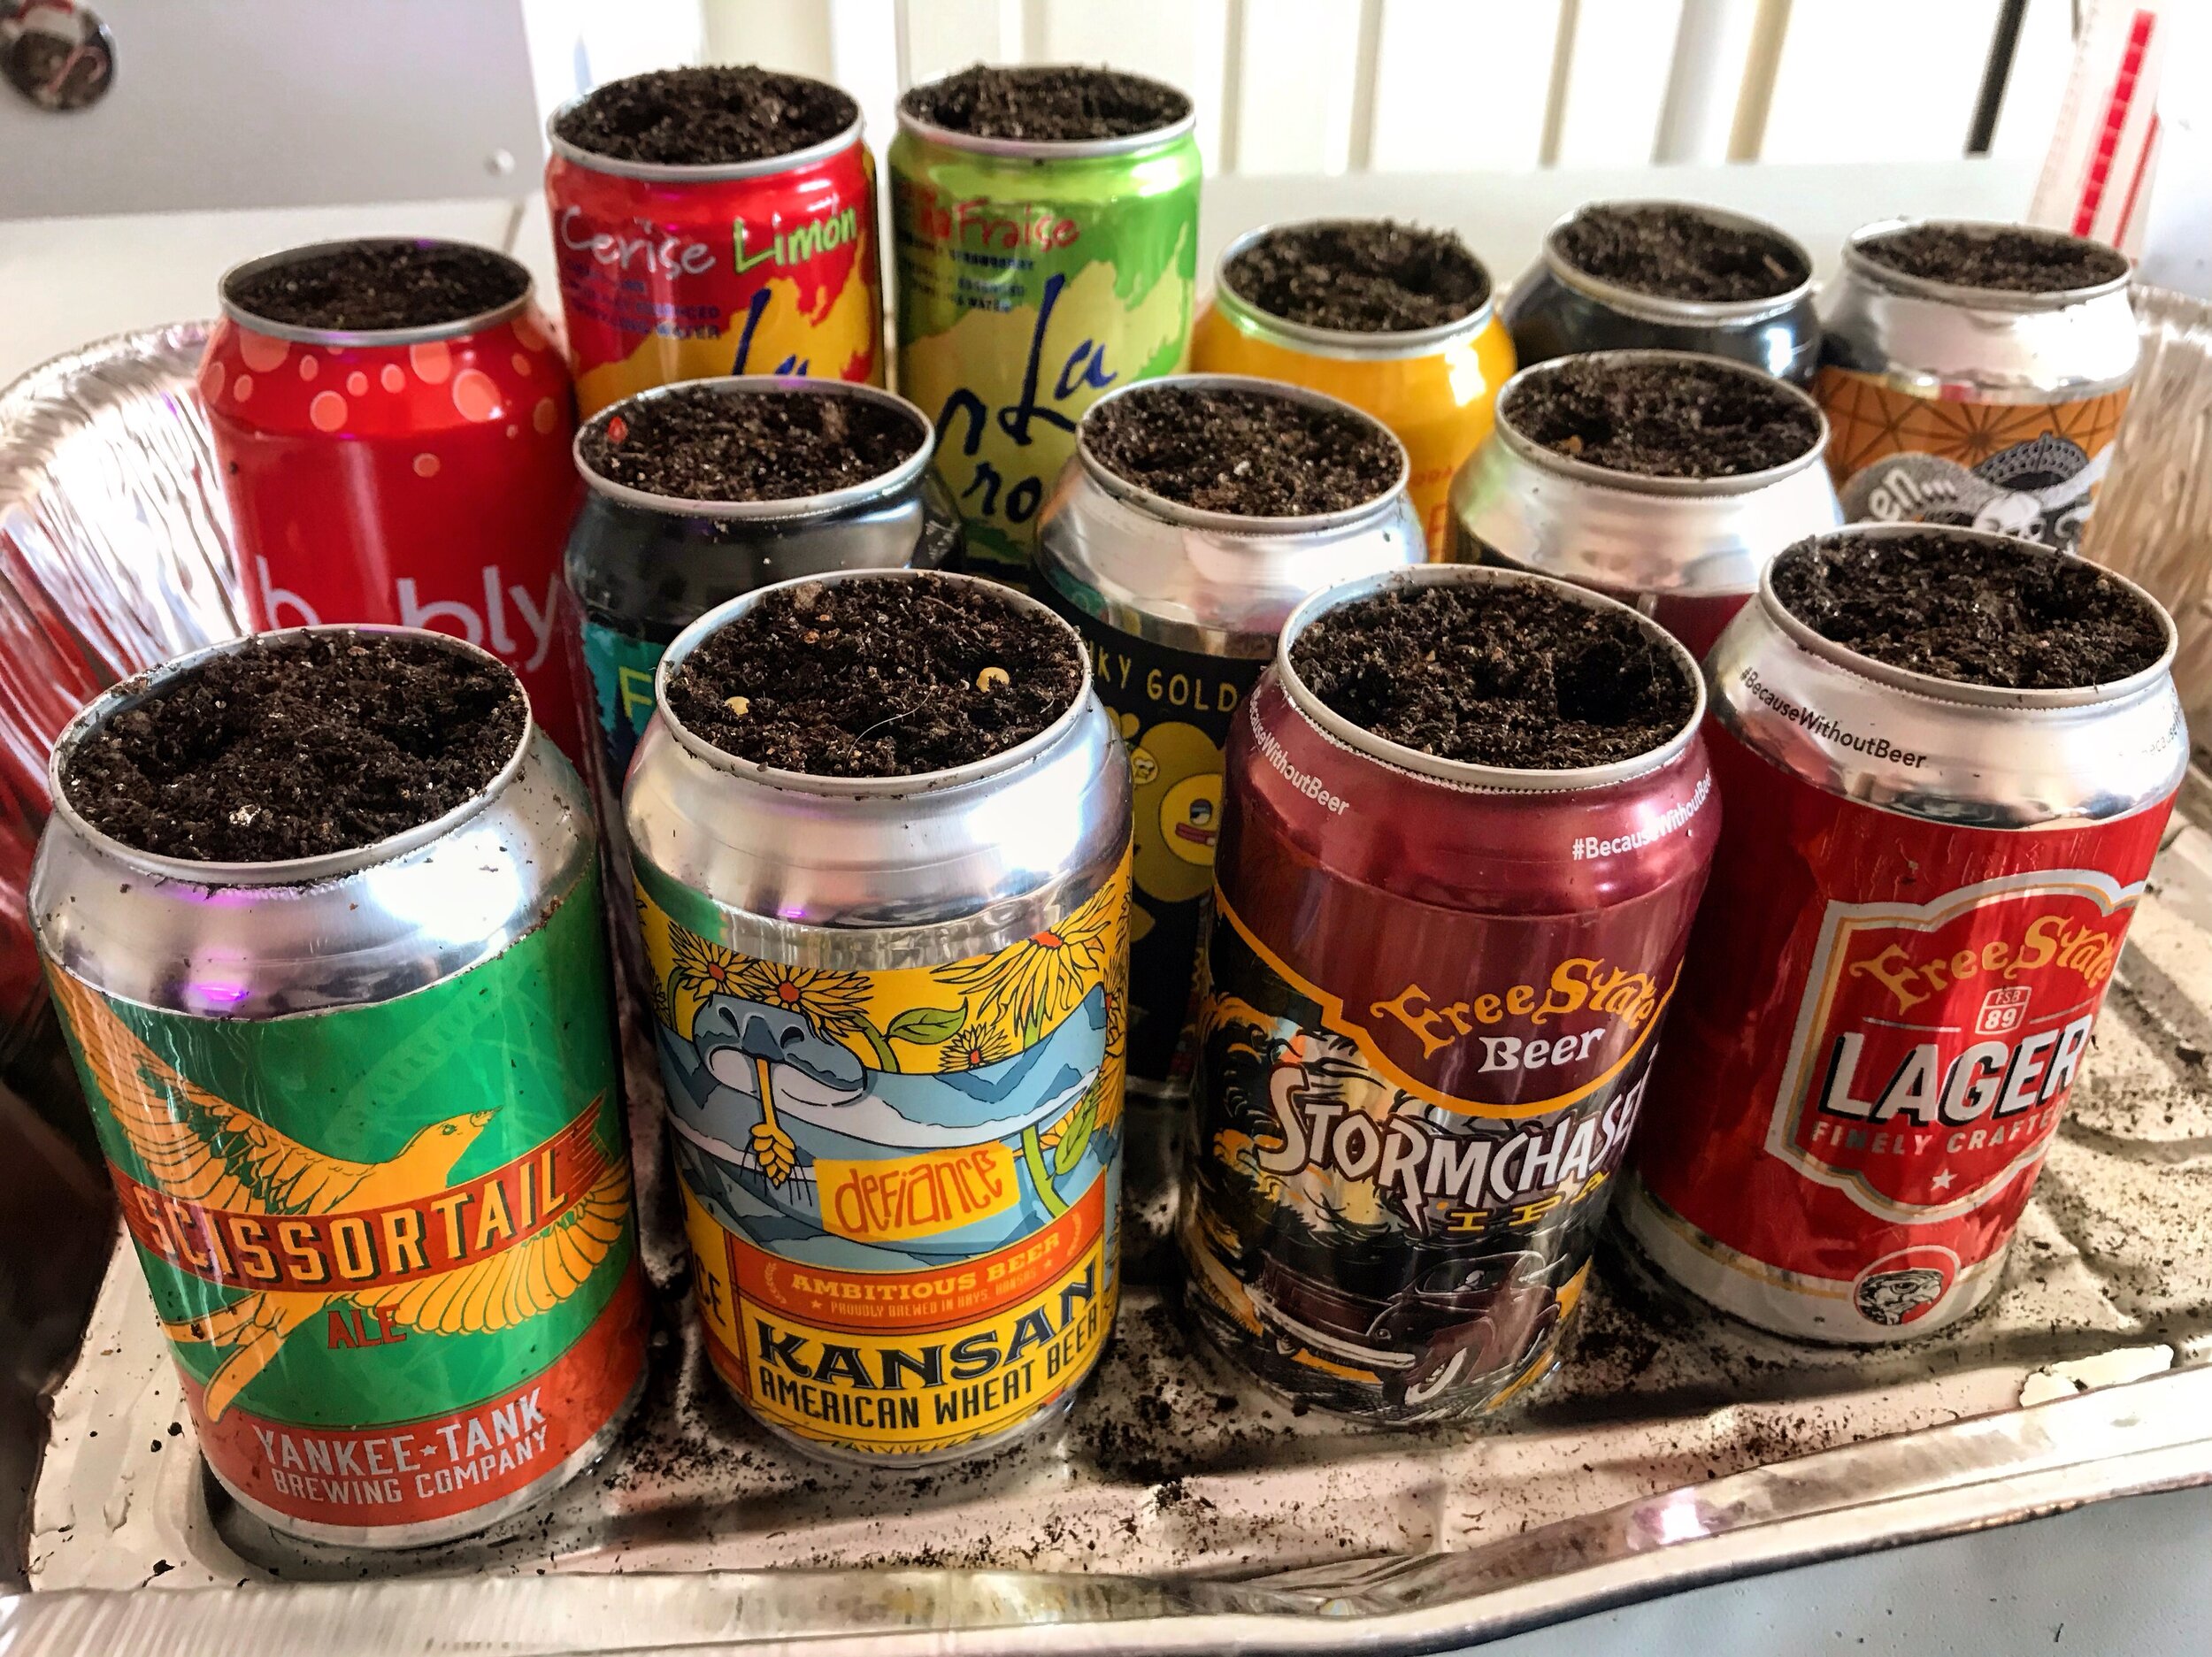
Materials & Directions
Okay, now that the boring stuff is out of the way, let’s get to planting! Here’s what you’ll need:
12 oz pop-top can
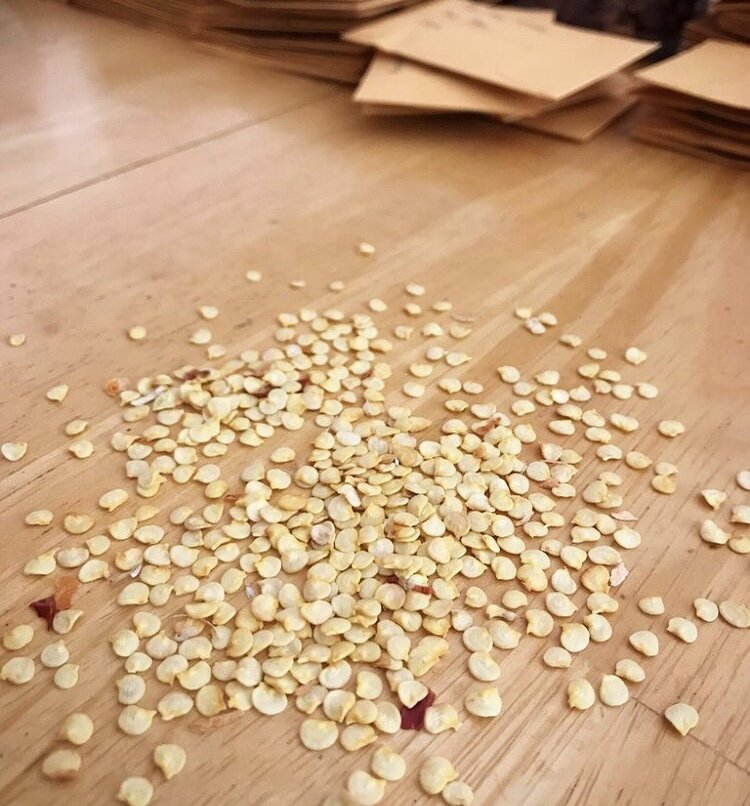
Your favorite pepper seeds
Soil choice: coco coir, seed starting mix, potting soil, etc.
My suggestion is ½ seed starting mix and ½ potting soil. I’ll explain later!
Can opener
Water
Saran wrap or plastic bag
Make sure you have drainage holes in your can’s bottom (I put 6 on each).
Easy enough? Great, let’s plant some peppers in cans! Here’s another list for you:
Cut off the can top with a can opener
Add pre-moistened potting soil to the bottom half of your can
a. (You can add a bit of fertilizer at this step)
Add pre-moistened seed starting mix to the top half of your can
Plant your seed(s)!
Add a bit of soil to the top and cover with a humidity dome
Use a heat mat until they sprout
Wait patiently for 7-21 days.
There are lots of variations to the Pepper in a Can Challenge, but the idea is to start and finish your peppers seeds in the same 12 oz can. And, honestly, the focus has always been about having fun. If you started peppers in a 16 oz can? You can’t enter it officially, but they want to see it! The 4,400 other members love seeing people’s pepper updates--and they’re probably just like you in that they either absolutely love peppers or they love experimenting with growing things differently. And isn’t that what gardening’s all about? Having fun, experimenting, and loving what you’re doing? That was a bit of a tangent, but seriously, it’s fun folks!

Tips & Tricks
Now for some tips and tricks to make sure you absolutely rock this! Here are some lessons I picked up along the way.
Use the right soil mixture
When you make your cans, put ½ potting soil in the bottom and ½ seed starting mix on top. That way, your seed still starts out growing in your seed starting mix and won’t get burnt by the extra fertilizer. Once its roots are long enough to reach your potting soil, it’s probably got its first set of true leaves and will welcome the extra nutrients.
Fertilize, Fertilize, Fertilize
Remember, these peppers are in this tiny can their whole lives--there’s only so much room for roots, soil, and air. My recommendation is once every 1-2 weeks after they’ve gotten established.
Watering
Like all seedlings, you need to keep your soil moist during the germination period. At this point, you want to water gently from above-- a spray bottle works well for me. Once the pepper plants are bigger with a couple sets of true leaves, you’ll want to start bottom watering. The roots and soil will suck up the moisture they need and not get overly waterlogged or leech nutrients like watering above is prone to do.
Watering, Round 2
Don’t over water! Peppers do not like wet feet. It’s better to err on the safe side and underwater instead of drowning your peppers.
Plant 2-3 Seeds Per Can
Some may not germinate, some may die later, you just never know. You want to give yourself a better chance of one pepper growing by planting more seeds initially instead of waiting 1-3 weeks and having to replant.

If you look closely, you can see that I twisted the stems of these 2 Mini Chocolate Bell Peppers early and they grew together nicely.
Use a Heat Mat for Germination
Peppers absolutely LOVE heat. When everything else is croaking in your garden, what do you see thriving? It’s usually peppers! (Or eggplant, or native plants…) Extra heat will make your seeds very happy and create an environment for excellent germination.
Use a Humidity Dome Until Germination
Keep in that moisture and heat! Two things pepper seeds absolutely need to germinate.
Top (or Prune) Your Hot Peppers…
When they have about 8 true leaves. Okay, this one can be scary, but you can do it! Here’s great info on pepper pruning. It makes your plants bushier and sturdier so they can withstand being in that can!
FERTILIZE
Fertilize. Fertilize. Fertilize. My recommendation is liquid seaweed or fish emulsion, both of which you mix with water and can use to bottom water.

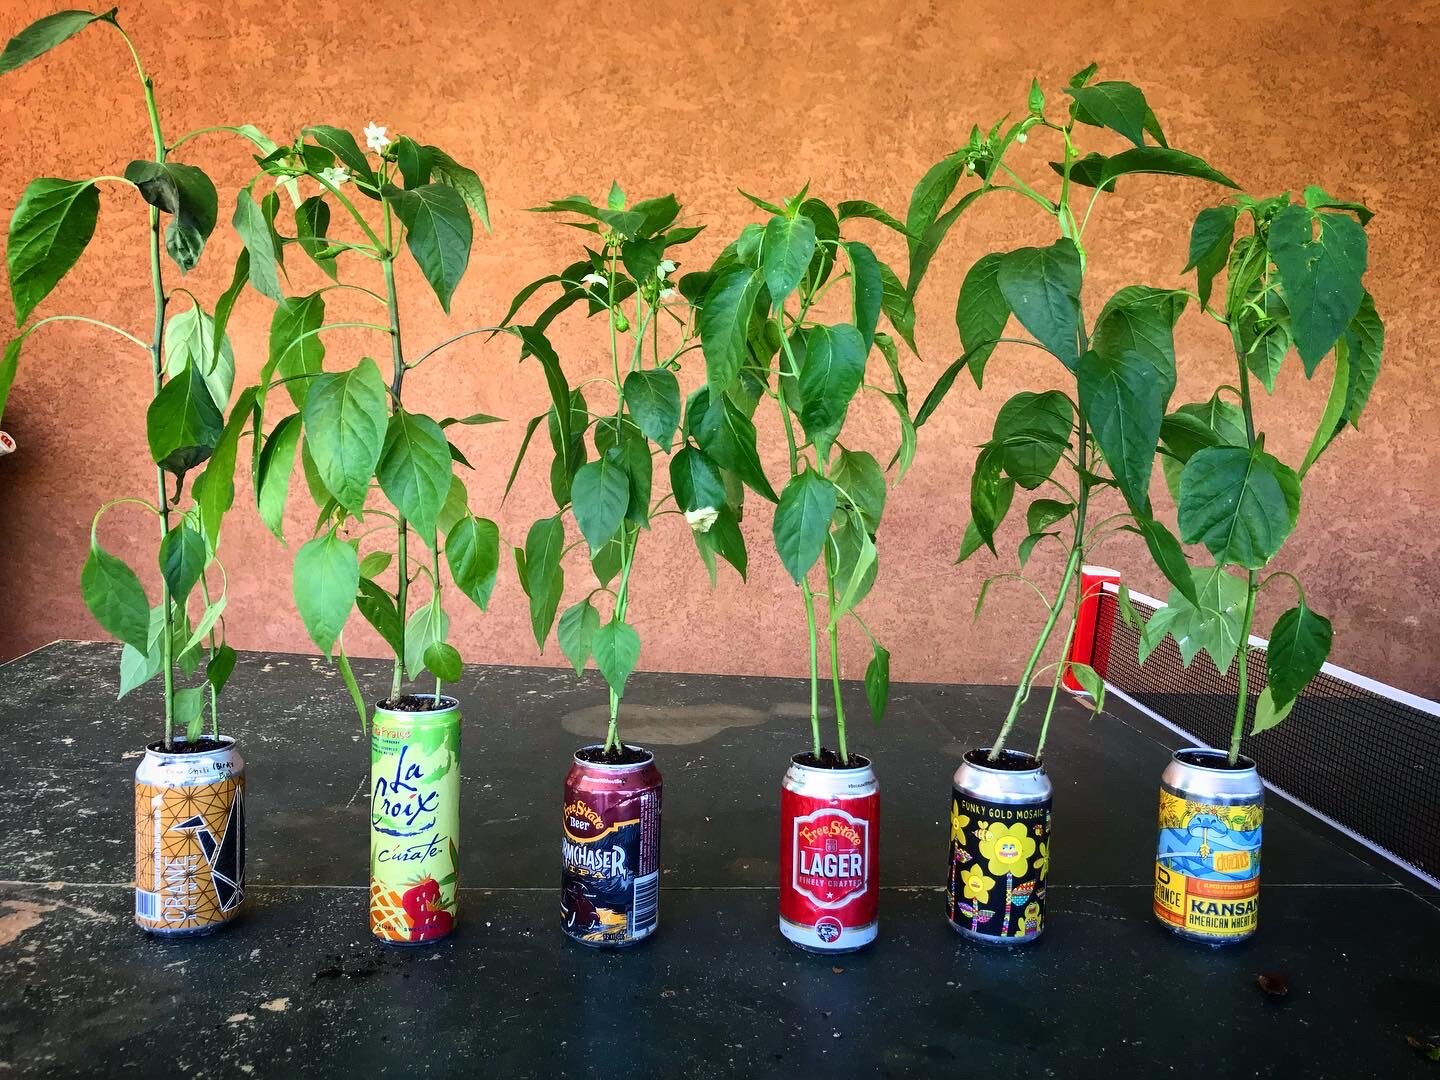
These are my best-looking peppers in cans at the end of the 2020 season.
Okay pepper growers, I know that’s a lot of info and a few too many lists, but I hope this gives you the tools you need to grow peppers in tiny spaces! It’s been a super fun challenge and I hope to see your entries throughout the next few months. Don’t forget to use the #PepperInACanChallenge hashtag to showcase your work, and tag me to show off your progress! Follow along with me at @ElevatedGardeningAZ.